Ultimate Guide to ColourTubes Scratch Repair Solutions

The Ultimate Guide to ColourTubes Scratch Repair Solutions
Scratches on your vehicle can be frustrating—whether it’s a light surface mark or a deep gouge. Instead of spending thousands at a body shop, ColourTubes scratch repair solutions offer an easy, affordable way to restore your car or bike’s finish right at home.
In this guide, we’ll walk you through what ColourTubes offers, how the repair kits work, why they’re trusted by professionals and DIYers alike, and how you can use them for a flawless finish.
Why Do Scratches Matter?
Scratches aren’t just a cosmetic issue—they can lead to:
-
Rust formation (especially on metal surfaces)
-
Paint peeling and long-term damage
-
Reduced resale value
-
Poor overall aesthetics
That’s why it’s important to address them early, and ColourTubes makes it simple.
What Makes ColourTubes Scratch Repair Unique?
Unlike generic paints or cheap kits, ColourTubes solutions are:
-
Precision-Matched – Each touch-up color is matched to specific vehicle shades using professional-grade formulas.
-
DIY-Friendly – Kits come with all tools needed: applicator, brush, cleaner, polish, and clear coat.
-
Multi-Surface Compatible – Works on metal, plastic bumpers, and two-wheelers too.
-
For Cars, Bikes & Scooters – Wide range of colors across brands like Maruti, Honda, Hyundai, Royal Enfield, and more.
What’s Inside a ColourTubes Scratch Repair Kit?
Each kit is designed for quick, efficient application and includes:
-
Touch-Up Paint (precision matched)
-
Primer (optional for deep scratches)
-
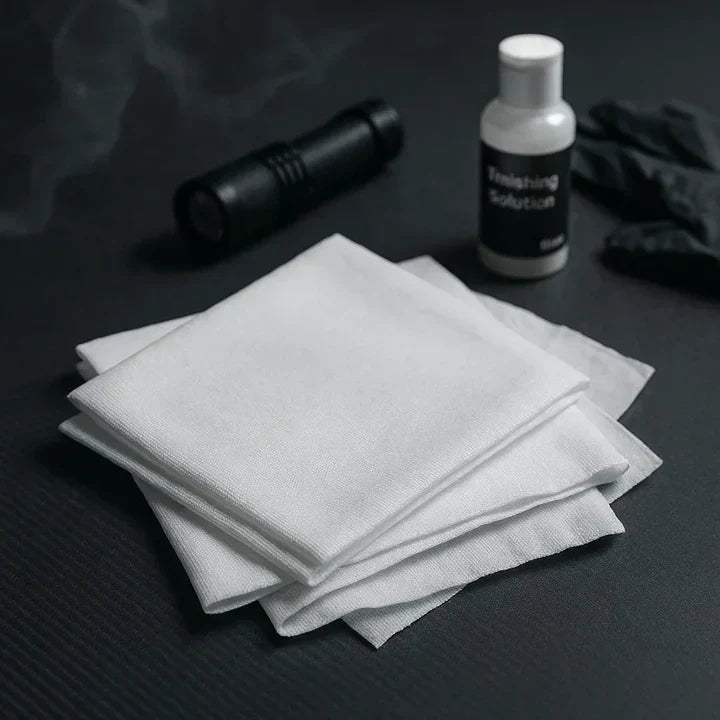
Microfiber cloth
-
Applicator brush or pen
-
Cleaning solution
-
Clear coat for sealing
-
Instruction manual
Types of Scratches It Fixes
ColourTubes repair kits are effective for:
-
Clear coat scratches – Light marks on the surface.
-
Paint layer scratches – Slightly deeper, showing different paint tone.
-
Primer scratches – Deeper cuts that need layered repair.
-
Minor bumper scuffs – Especially on corners and edges.
Step-by-Step: How to Use ColourTubes Repair Kits
Here’s how to fix a scratch in just a few steps:
Step 1: Clean the Surface
Use the cleaning solution or soap water to remove dirt, wax, or grease.
Step 2: Sand (Only for Deeper Scratches)
Use a fine sandpaper (optional) to level the surface for better paint adherence.
Step 3: Apply Primer (If Needed)
If the scratch reaches the metal or plastic, use the included primer.
Step 4: Shake and Apply Paint
Shake the ColourTubes paint bottle well. Use the brush/pen to apply evenly along the scratch.
Step 5: Let It Dry
Allow 15–30 minutes for the paint to dry. You can add a second layer if needed.
Step 6: Seal with Clear Coat
Apply the clear coat to protect the paint and give it a glossy finish.
Step 7: Buff for Shine
After the coat dries, gently polish the area using the microfiber cloth.


