


The Power of ColourTubes Professional Touch-Up Tools
What Are ColourTubes Professional Touch-Up Tools?
ColourTubes isn’t just a paint brand — it’s a full solution. Their professional-grade kits include specially designed tools that make the repair process easy, even for beginners.
Here’s what makes these tools stand out:
-
Pre-Treatment Wipes – Removes dirt, wax, grease, and oils to prep the surface
-
Microbrushes – Superfine applicators that let you target chips without overspread
-
3mL ColourTubes – Custom-matched paint shades with rich pigment
-
Finishing Solution Bottle – For final polish and seamless blending
-
UV Cure Sachet – Fast-drying, clear coat enhancer with long-lasting protection
-
30mL Mixing Container – For dilution, measuring, or blending small batches
-
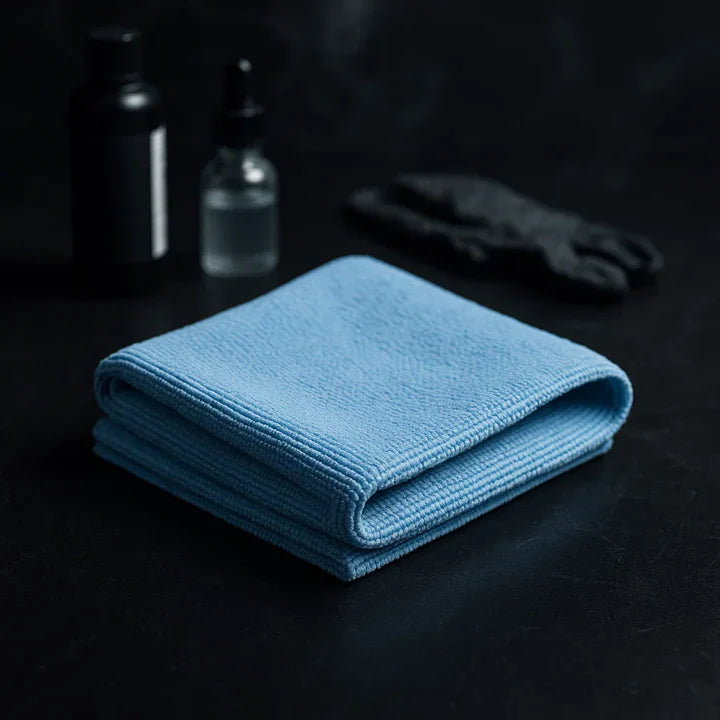
Microfiber & Wiping Cloths – For controlled cleaning and buffing
-
Squeegee Tool – For spreading finishing solution evenly
Why These Tools Matter More Than You Think
Anyone can buy a bottle of paint. But without the right tools, the result often looks worse than the original scratch.
Here’s how ColourTubes elevates the experience:
Precision Microbrushes
Forget bulky brushes or dripping tips. The ColourTubes microbrushes offer pinpoint control, letting you apply paint exactly where the chip is, without touching surrounding areas.
Pre-Treatment Wipes
Paint doesn’t stick to wax, oil, or dust. These wipes ensure a clean bonding surface, boosting adhesion and finish quality.
UV Cure Technology
The UV Cure sachet provides a quick-drying, hard clear coat that seals the repair. It doesn’t just restore gloss — it protects the area from UV, moisture, and future chipping.
Finishing Solution & Squeegee
The final step is what gives you that “wow” moment. The squeegee tool lets you spread the finishing solution evenly without streaks, and the microfiber cloth buffs the area until it gleams.
How to Use the ColourTubes Tools – Step-by-Step
Let’s walk through the process using these tools:
Step 1: Surface Prep
Use a Pre-Treatment Wipe to clean the area. This removes wax, oil, and contaminants.
Step 2: Paint Application
Use a Microbrush to dip into your matched ColourTube and gently apply it only to the chipped area. Don’t overpaint.
Step 3: Let It Set
Let the paint dry naturally or under shade. Avoid heat or sun immediately.
Step 4: Apply UV Cure (Optional)
For extra gloss and protection, apply the UV Cure Sachet as a top layer. It hardens quickly and adds durability.
Step 5: Finishing Touch
Apply a few drops of Finishing Solution using the squeegee or a cloth. Spread evenly, then buff with a microfiber cloth until the surface shines.
The ColourTubes Edge
Most scratch repair kits cut corners. But ColourTubes believes in doing it right, not cheap. The tools aren’t just accessories — they’re the secret to pro-level results.
When you buy ColourTubes, you’re not just buying paint. You’re investing in a full solution — one that empowers you to restore, protect, and impress with confidence.


